You may need to reset your Keurig if the descale indicator light won’t go off. By doing this, you can reset the machine to its factory settings and begin using it again per the instructions in the user manual.
How To Reset the Keurig Descale Light?
Checking that the Keurig coffee machine is turned on is the first step in resetting the descale function.
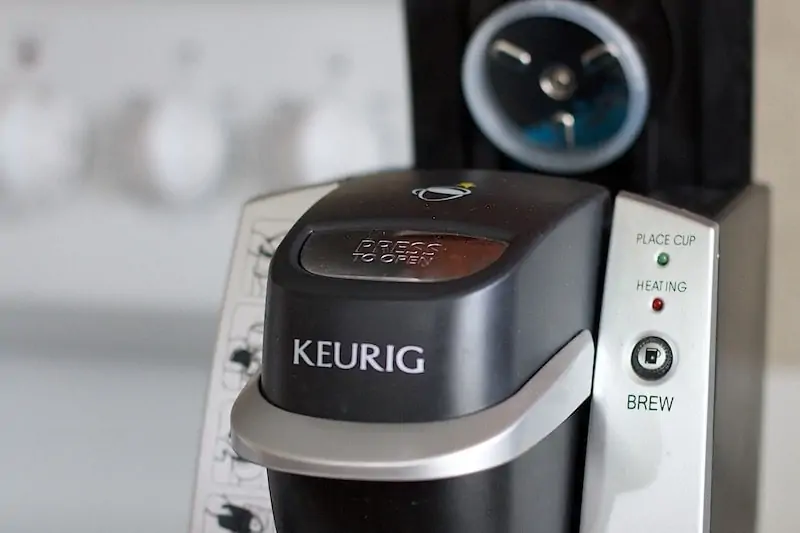
To reset the Keurig descale light, make sure the brewer is plugged in and turned on. Next, push and hold the 8oz and 12oz buttons together for three seconds to activate the “Brew” light.
Place a large coffee cup under the machine, then locate the 8oz and 10oz buttons and press them both at the same time. Allow the machine to run until the cup is full, then drain the water. If the descale light is still on, press the 8oz and 10oz buttons simultaneously for five seconds to turn it off.
If the light remains on after descaling, it could be due to restricted water flow or obstructions.
RELATED: My Keurig Coffee Maker Won’t Turn On
What Can I Do If My Keurig Descale Light Won’t Turn Off?
You can retry the descaling operation with additional solution, vinegar, or citric acid if the light on your Keurig is still on after you have descaled it.
It is possible that your device will not recognize that you have cleaned it until you first put it in the Descale Mode.
Is There Any Other Way To Turn Off The Keurig Descale Light?
No, the only way to turn off the Keurig descale light is to descale your machine properly.
If the light persists even after multiple descaling attempts, contact Keurig’s customer support for further assistance.
RELATED: How to Reset a Keurig 1.0 and 2.0
What Does Descale Mean on A Keurig?
Keurig is among the most well-known names in the coffee machine industry. They produce top-notch equipment that reliably makes excellent coffee. We recommend using high-quality and reliable K cups like the Peet’s K Cup pods or the illy K Cups to give you the best Keurig coffee experience.
But what exactly does descale mean on a Keurig?
It is essentially a reminder to consumers to perform a full cleaning or descaling treatment on the system. Descaling is necessary because calcium deposits or scale can accumulate within the coffee maker over time, compromising the taste and quality of your coffee.
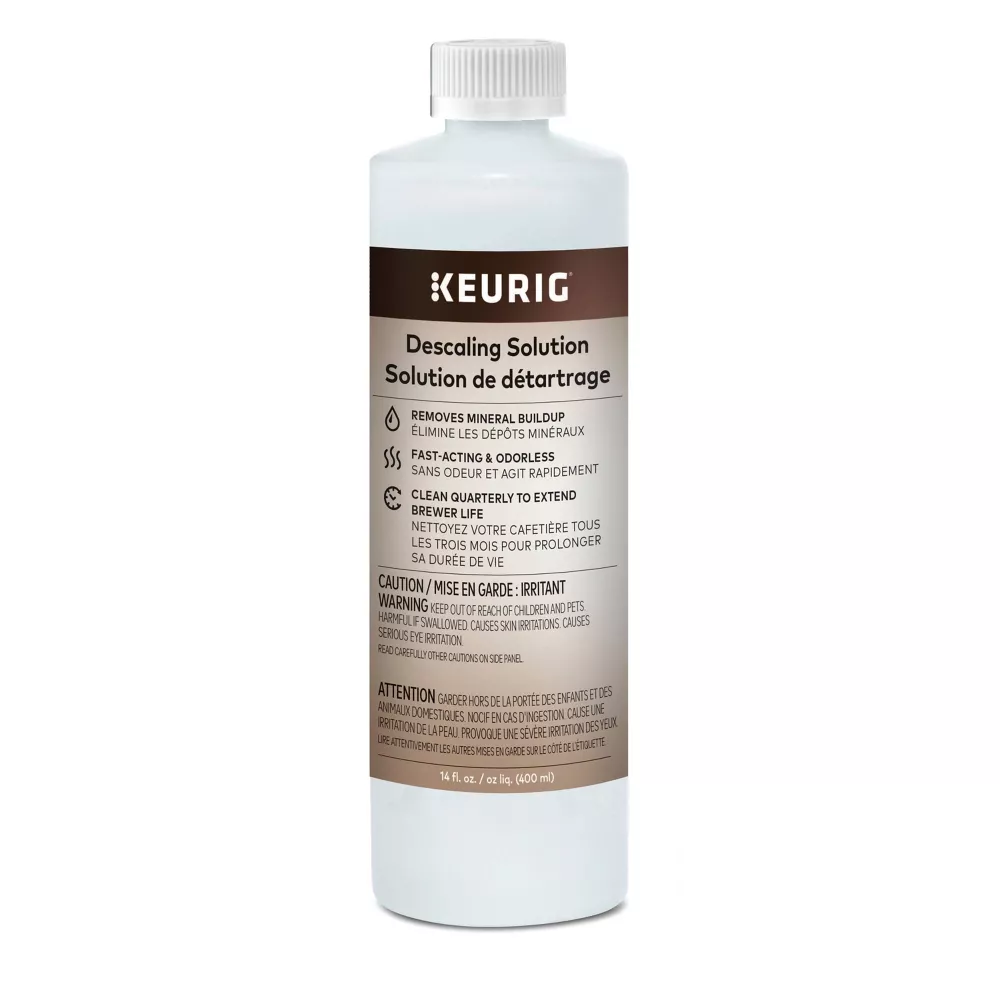
It is recommended to descale your Keurig every three to six months, especially if the machine is extensively used or your residence has hard water. To clean, remove the hard deposits, and allow the brewer to perform effectively, use a descaling solution or white vinegar.
Why is My Keurig Descale Light Stuck On?
According to recent reports, a significant number of Keurig consumers are encountering the issue of the descale light lingering on even after they have descaled their machines; your Keurig still says descale after descaling.
Dealing with issues of this nature may be quite annoying; however, being aware of what triggers them and the significance of descaling can help reduce the likelihood that similar problems will arise in the future.
LEARN MORE: 8 Best Dunkin Cold Brews in 2023
Keurig Is Overdue For a Descaling
A Keurig coffee maker needs to be descaled regularly to function properly. The descale indicator light may remain on your Keurig machine for as long as six months if you haven’t descaled it recently.
Minerals and other impurities might accumulate over time, reducing your machine’s efficiency.
The Descale Light Is Stuck On
The descale light won’t go out if the descaling cycle isn’t finished. You must operate the machine with two full water tanks to complete the descaling process.
The length of time required for the descaling cycle of your Keurig will vary depending on your specific model.
The Water Storage Tank Is Full
The water reservoir may be too full if the Keurig descale light remains on. This is because water is used in the descaling process and stored in the reservoir.
The descaling procedure cannot begin, and the light will stay on if the water reservoir is full.
You Didn’t Do What’s In The Instructions
Keurig descaling is easy if you follow the directions. Be sure to do everything correctly, including filling up two water tanks and running them through the machine.
The descale indicator will remain on until the proper procedures are followed.
The Keurig Is Damaged
It may be broken if your Keurig has been descaled and is still malfunctioning. If your Keurig is acting up, don’t hesitate to call customer care for assistance.
It isn’t a pretty sight nor a pleasant user experience when the descale light on your Keurig coffee machine won’t go out.
The good news is that there is probably an easy solution. After attempting to descale the machine without success, it is time to call for assistance.
How to Fix Keurig Descale Light Won’t Turn Off
If you possess a Keurig coffee maker, you may have noticed that the descale light does not turn off.
This can be annoying, but there are certain actions you can do to troubleshoot and resolve the issue. This how-to guide will walk you through the steps required to troubleshoot Keurig’s descaling issues.
1. Fill your Keurig with more water.
The most common cause of the descale light remaining on is an incomplete descaling cycle. To overcome this problem, you must use two full water tanks in your Keurig. The following are the steps you must take:
Step 1: Unplug your Keurig coffee maker from the wall.
Step 2: Drain the water from your Keurig reservoir.
Step 3: Fill the reservoir with fresh water.
Step 4: Begin the cleansing rinse cycle by turning off the brewer and pushing the power button. Continue washing and brewing until the add water light illuminates.
Step 5: Fill the water reservoir with the entire bottle of Keurig Descaling Solution.
Step 6: Fill the reservoir to the brim with bottled or tap water.
Step 7: Brew hot water without any K-cups in two full water tanks in your Keurig.
If this procedure fails, turn off the descale light and try again with more descaling fluid, or descale with vinegar or citric acid.
2. Examine the Water Pump
If the descale indicator remains illuminated after running water through your Keurig, there could be a problem with the water pump.
To test this, press and hold the brew button for five seconds. This will compel the water pump to run and may resolve the problem.
3. Remove the Exit Needle and Clean the K-Cup Holder
The descale light may illuminate owing to a clogged K-cup holder, causing the Keurig to malfunction. Follow the steps below to accomplish this:
Step 1: Unplug your Keurig coffee maker from the wall.
Step 2: Remove the K-cup holder and inspect it for cleanliness.
Step 3: Gently jab the exit needle with a paperclip to remove any debris or coffee grounds.
Step 4: Put the K-cup holder back together.
4. Disconnect the External Overflow Drain
If Keurig still needs to descale, the problem could be a plugged exterior overflow drain. To resolve this, take the following steps:
Step 1: Unplug your Keurig coffee maker from the wall.
Step 2: Determine the location of the external overflow drain.
Step 3: Seal it with your finger to prevent water from escaping.
Step 4: Invert your Keurig to clear any debris or coffee grounds from the drain.
Step 5: Unplug your Keurig and reassemble it.
5. Get in touch with Keurig Customer Service
If you are having trouble turning off the descale light on your Keurig coffee maker, contact their customer service for assistance. Their skilled professionals can walk you through a sequence of steps that will help you remedy the problem.
Remember to include all essential facts about your machine and the troubleshooting actions you’ve already completed when calling customer service. You should be able to troubleshoot and resolve the Keurig descale light won’t turn off the issue with these steps.
These approaches can be used to troubleshoot a Keurig coffee maker with a descaling light that won’t turn off. To avoid further issues, it is critical to clean your computer on a regular basis. If none of these solutions work, please contact Keurig customer care.
Where Is Descale Button on Keurig?
Don’t panic if you can’t find the descaling button on your Keurig. The method for descaling your Keurig varies based on the model.
Some models, such as the K-Supreme, require you to turn off the brewer and enter descale mode.
For more complex machines, however, you may need to fill the reservoir with a 1:1 mixture of white vinegar and water or Keurig Descaling Solution.
Always, always, always follow the particular directions for your Keurig model. By taking the time to describe your Keurig on a regular basis, you can help guarantee that it continues to function properly and produce delicious coffee.
How Frequently Should I Descale My Keurig?
Your Keurig’s need for descaling will vary based on how often you use it and the hardness of the water where you live.
Every three months, describe how you use your Keurig if you use it every day. If you use it less frequently, you could go up to six months without needing to descale it.
If you have really hard water, you may find that you need to descale your Keurig more frequently.
Tips to Keep Your Keurig Working Well
- Clean your Keurig on a regular basis: To keep your Keurig coffee maker working well, use a light detergent and a wet cloth. This will aid in the removal of coffee grounds, oils, and other contaminants.
- Clean the removable components: Wash any removable parts, including the reservoir, with warm, soapy water. Clean the tank filter as well to remove any obstructions.
- Descale your Keurig: Descale your Keurig every few months to remove any mineral accumulation that may be affecting its function. To do this, combine equal parts water and white vinegar and run it through your Keurig several times.
- Use the proper water: The quality of your water can have a significant impact on the flavor of your coffee. It is best to use filtered or bottled water to avoid contaminants from impacting the flavor.
- Rinse the water tank daily: Every morning, rinse it and refill it with new water to ensure the best-tasting coffee. This will aid in the prevention of mineral deposits and other pollutants that might impair the flavor of your coffee.
- Keep your Keurig in a clean, dry location: It’s critical to keep your Keurig in a clean, dry environment to avoid moisture from getting inside and harming its operation. Keep it away from any heat or moisture sources, such as the kitchen stove or sink.
- Select the proper cup size: This is critical when brewing coffee. Using a cup that is too tiny will produce a weaker brew, while using one that is too large may dilute the coffee and impair the flavor.
- You can keep your Keurig coffee maker running smoothly and enjoy excellent, aromatic cups of coffee every day if you follow these simple guidelines.
How To Descale Keurig Traditional Brewer
- To turn off the brewer, press the on/off switch. To descale your Keurig, empty the bottle’s contents into the water reservoir. The bottle should then be filled with water and placed in the reservoir.
- Press the power button again to restart the brewer. Place a big ceramic cup on the drip tray, lift and lower the brewer’s handle, and select the largest brewing size for a cleaning cycle. For brew, hit the button.
- To activate the indicator light, rinse until it lights up. Please leave the machine operational for 30 minutes. After that, empty the water and thoroughly rinse the container. Clean water should be added to the reservoir until the full line is reached.
- Place the large ceramic mug in the drip tray and create a pot of water for rinsing. A K-Cup pod should not be used. Empty the mug’s contents into the sink.
- Make a couple of pots of the strongest brew you can manage. The water tank might need to be refilled.
How To Descale Keurig SMART Brewer
1. Make sure the water filter is disconnected from the storage tank before you begin. Press the left arrow and select continue when the Descale notification appears. After that, finish descaling your brewer by following the on-screen prompts.
If you’re not seeing any descale effects, you can access the settings menu by pressing the left and right arrow keys at the same time and then selecting descale mode.
2. Prepare the Keurig descaling solution by emptying the water reservoir. Water can be refilled from the bottle and dumped into the reservoir.
To release 12 ounces of steaming liquid, press the brew button. Remove the scalding liquid, refill the tank with water, and place the cup back on the serving tray.
3. Fill the tank as high as it will go with clean water and give it a good rinsing. Put the cup on the plate so it can drip. You can start a freshwater rinse by pressing the brew switch when it begins flashing.
The finished brew should be poured into a heatproof basin. Repeat this process until you see the message descale complete. You can start making coffee using the coffeemaker now.
How to Descale Keurig K-Duo
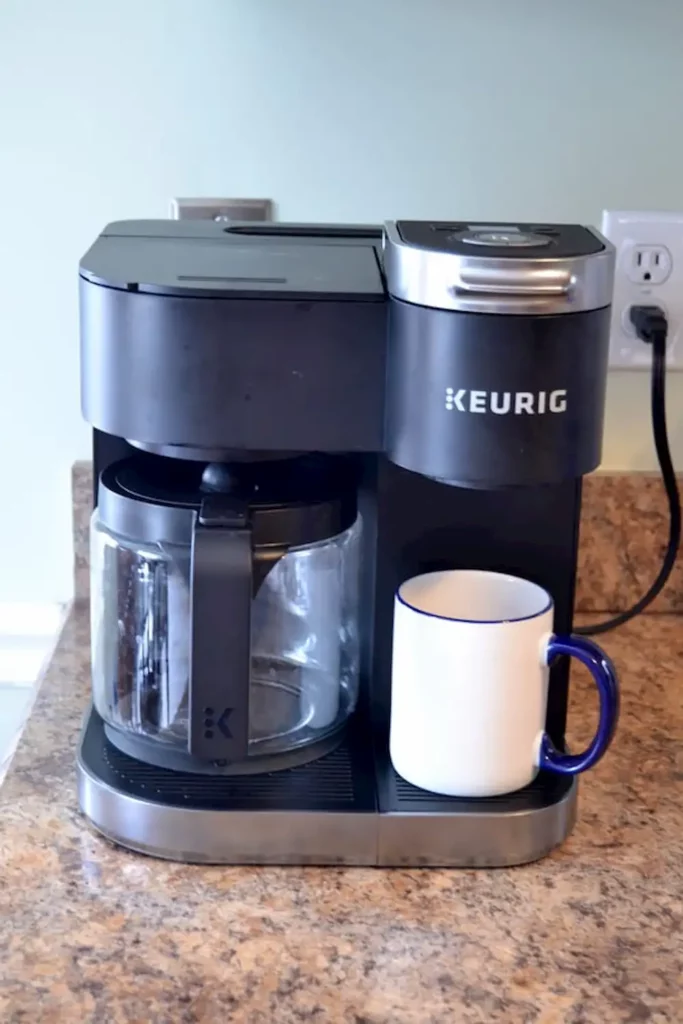
The Keurig K-Duo can be descaled in easy-to-follow and simple steps:
- Fill the water reservoir, then pour in the bottle of Keurig descaling solution. Do not fill the reservoir with K-Cup Pods or ground coffee.
- Place a big cup on the tray and push the oz pod button to use the single cup setting. To start a rinse brew cycle, press button 12 and drain the hot water into the sink.
- Press the cups button and set the carafe on the hot plate. To start a rinse cycle for the carafe, press the number 12 button. When you’re finished, empty the heated liquid down the drain.
- Press and hold the cups button to turn off the heating plate.
- The brewer needs at least 30 minutes of time. After that, discard any unused solution and thoroughly rinse the device.
- Fill the reservoir with water until it reaches the maximum mark. The carafe should be set atop the sizzling plate.
- To begin brewing with new water, press and hold the cups button until the carafe side lights up, and then press 12.
- Press and hold the CUPS/CARAFE button to turn off the heating plate and pour the finished brew down the drain. You can get four cups of coffee out of rinsing the 12-cup carafe three times.
- Fill the water tank and set a glass below the spout. To activate the single-cup setting, press OZ/POD and then 12. This will make just one cup of water.
- Repeat the 12-ounce brewing process three more times.
How To Descale Keurig K-Mini or K-Plus Brewer
- Turn on the coffee maker. Add new water until the maximum fill line is reached, then add one-third of the Keurig descaling solution.
- A large ceramic cup should be placed in the drip pan. To adjust the strength of your brew, raise and lower the brewer’s handle.
- Press the brew button. You can now empty the cup down the garbage disposal.
- When you see the descaling solution coming out of the coffee machine, turn it off immediately. Leave it for at least 30 minutes.
- Then, power it back up, move the lever up and down, and hit the brew button.
- Repeat the procedure twice, using only large quantities of clean water.
Our Tips For Getting Your Keurig To Descale Light To Turn Off
- To turn off the light, run vinegar through it. If your Keurig’s descale light is on, you can first run vinegar through it. White vinegar may be used to clean your Keurig without having to do anything more than fill the water reservoir and run the machine. Repeat this process a few times to get the descale indicator to go out.
- The Mineral Deposit Sensor can be cleaned with a cleaning needle. You can also use a cleaning needle to remove mineral deposits from the sensor. This component is often found near the base of the storage tank. Mineral deposits can be removed with a cleaning needle and a moist towel. Hopefully, this will help turn off the descale indicator.
- Get some CLR or Lime Away and use it. If the vinegar method doesn’t get the descale light to go out, you can try spraying CLR or Lime Away inside the Keurig. To use CLR or lime away with your Keurig, fill the water reservoir. After that, you should flush it out with water to start fresh.
- Apply baking soda and water paste on the shower head and leave it there for 15 minutes. If mineral deposits keep the descale indicator lit, this should assist in getting rid of them. Make sure to wash it off with water so the baking soda doesn’t affect the flavor of your coffee.
- Never use your Keurig when the descale indicator is on. This is because it means your Keurig has to be descaled, and putting off this task might shorten the life of your machine by damaging its internal components.
- For the best results from your Keurig, always use filtered water. Water that has been filtered has had contaminants like chlorine and silt removed. If you do this, you’ll get better coffee and are less likely to have to deal with a clogged machine.
- Use water purified by reverse osmosis to filter out contaminants like chlorine, minerals, and bacteria. Therefore, it is significantly cleaner than conventional municipal water.
- You shouldn’t use unfiltered tap water in your Keurig machine. Coffee and tea made with tap water may taste wrong due to chemicals, minerals, and other pollutants. Also, using tap water in your coffee machine can occasionally cause clogging and scale building up that will take some time and effort to remove.
Takeaway
Following the manual’s directions for descaling your Keurig is crucial to ensuring its continued proper functioning. Hopefully, this article has shed some light on fixing the problem.
If you’re still having problems with the descale light not turning off, contact Keurig Customer Support.
References:
- https://www.wikihow.com/Descale-a-Keurig
- https://www.insider.com/guides/kitchen/how-to-clean-a-keurig
READY FOR MORE KEURIG TIPS?
- Why Your Keurig is So Loud?
- Why Your Keurig is Shutting Off While Brewing?
- How to Unclog Keurig Coffee Makers
Click here to view the Visual Story Version of this Article.
Contents
- 1 How To Reset the Keurig Descale Light?
- 2 What Does Descale Mean on A Keurig?
- 3 Why is My Keurig Descale Light Stuck On?
- 4 How to Fix Keurig Descale Light Won’t Turn Off
- 5 Where Is Descale Button on Keurig?
- 6 How Frequently Should I Descale My Keurig?
- 7 Tips to Keep Your Keurig Working Well
- 8 How To Descale Keurig Traditional Brewer
- 9 How To Descale Keurig SMART Brewer
- 10 How to Descale Keurig K-Duo
- 11 How To Descale Keurig K-Mini or K-Plus Brewer
- 12 Our Tips For Getting Your Keurig To Descale Light To Turn Off
- 13 Takeaway